So my last Pinterest post, which was just a quick lesson on how Pinterest can help you grow your blog, was a huge success!
I also got a few messages saying that people would love a How to with pictures. (Similar to my Beautiful Blogger post)
So here it goes: How to Use Pinterest!
Step 1…GET A PINTEREST ACCOUNT!
Step 2: Update your profile.
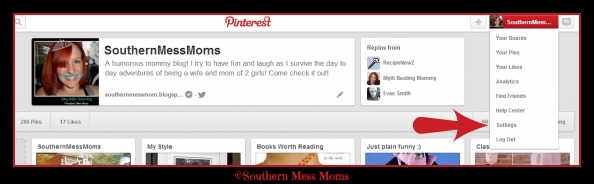
In order to do this, you will need to roll over your name in the top right hand corner of your page.
Once in the settings you should see something that looks like this:
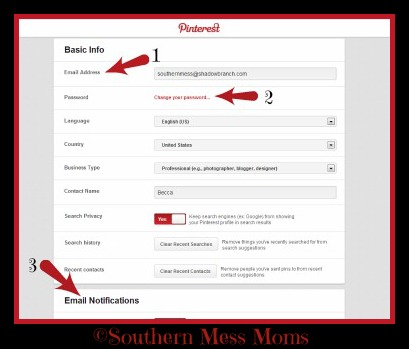
1: Your E-mail address. You can change this or leave it as is, just be sure it is an address that you use so you can get your updates.
2: Here is where you can change your password. I try to do this as little as possible…mainly because I will forget it if I keep changing it.
3: Down here are ALL of the Email Notification options. There are a ton of them. Be sure to check them out and decide what you want to be notified of and how often.
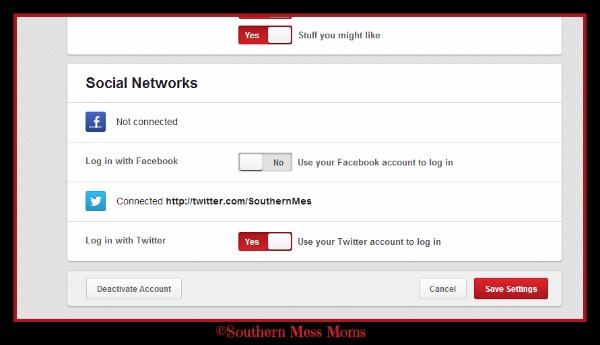
Below that is a place to link your Facebook and Twitter accounts. Doing this will make it so that people on those accounts see what you pin, re-pin etc.
Click Save Settings.
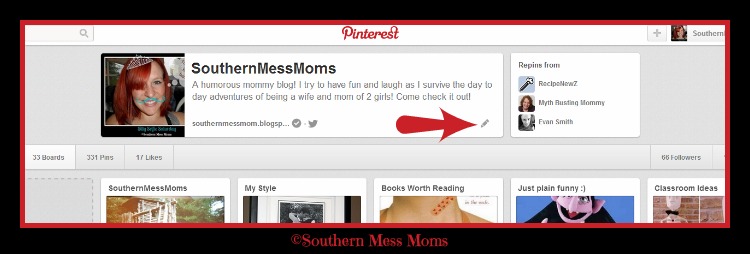
Now we need to update your short description and picture that show up on your page.
Click on the pencil looking thing on the bottom right hand side of your bar.
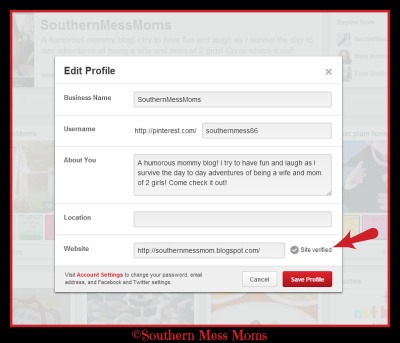
This will take you to a window where you can make the necessary changes. Be sure to put something catchy and easy to understand as your description. The arrow is pointing to where you can verify your website. This is really important! If your website is verified, it will show up as a link in your description!
Click Save Profile.
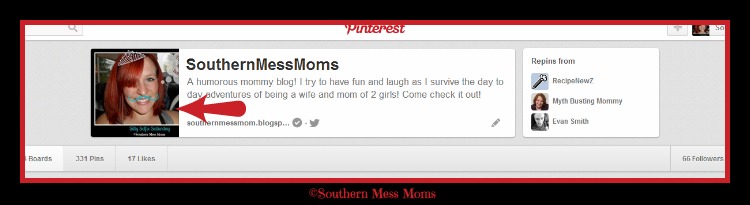
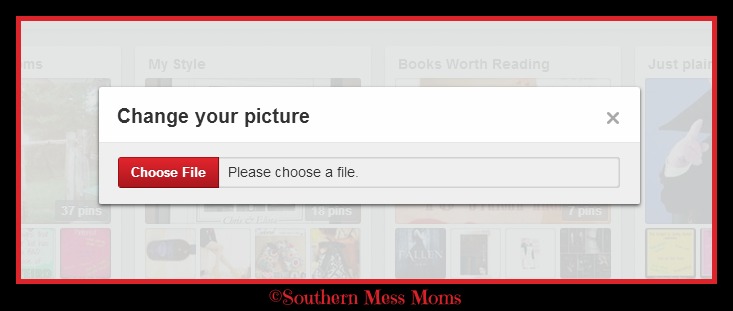
To change or upload your picture place your mouse over the picture icon on the left side of your bar.
Choose the file that you would like to use from your computer. Click Open. Your picture should update immediately!
Now that your board is personalized it is time for the fun stuff!
Step 3: Add boards
Adding boards is simple and fun! I’m a bit OCD so I sat down with a pad of paper and thought up all the different types of boards that I may want and tried to go ahead and create them. Most people just create a board or two to start and then build more boards as they find Pins and need a place to put them.
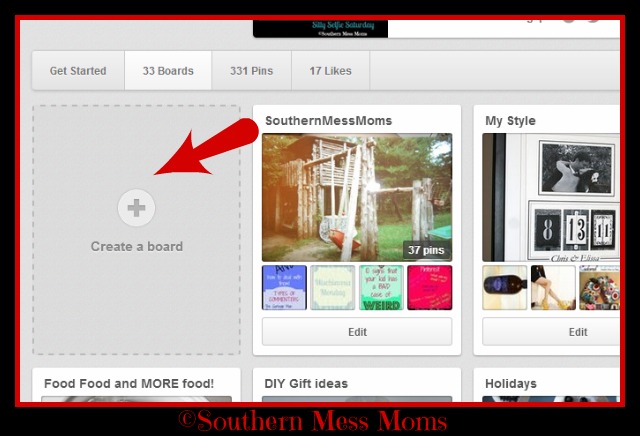
To add a board, simply click on the + on your page.
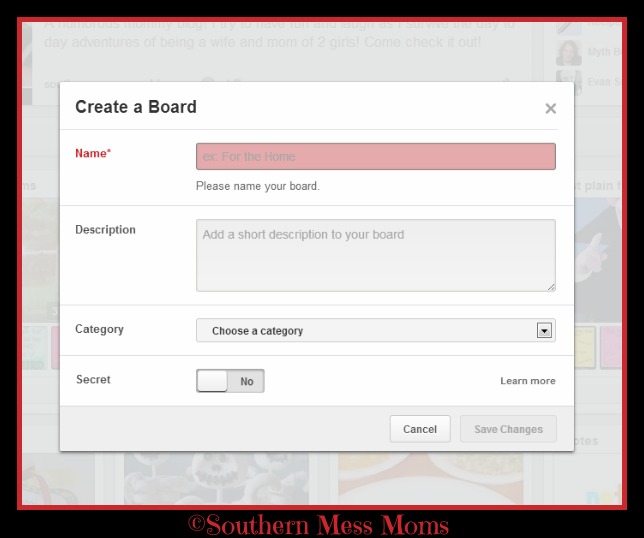
Be sure to fill in a creative name and a good description. The better the name and description, the more likely it is that others will follow your boards!
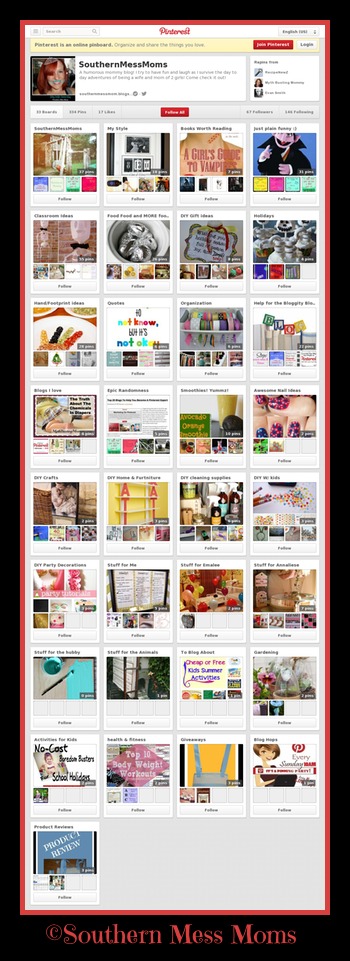
Here are my boards.If you want to look through them a bit closer feel free to check out my
Pinterest Page!
Step 4: Add pins
There are three ways to add pins to your boards.
The first two are found here.
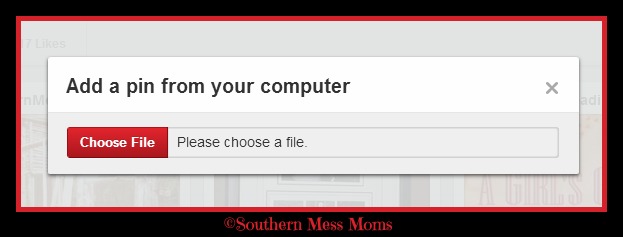
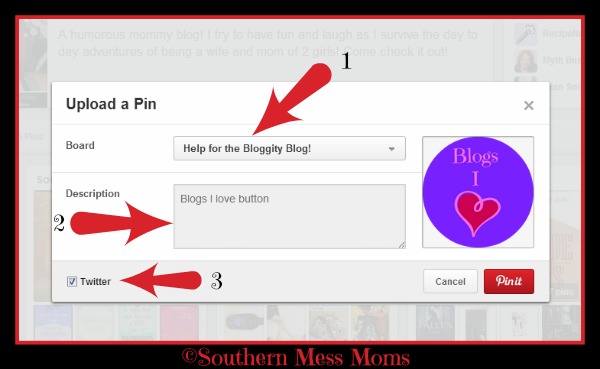
1. Upload a pin. This option allows you to choose a image from your computer to Pin. All you have to do is click Choose File, find what you want to Pin and click Open.
1: Choose the board you want to add it to. NOTE: if it doesn’t fit well into any of your boards you can create one by typing in a name and clicking create board.
2: Add a catchy description of your image.
3: Here you will be given the option of sharing this Pin on your social networks.
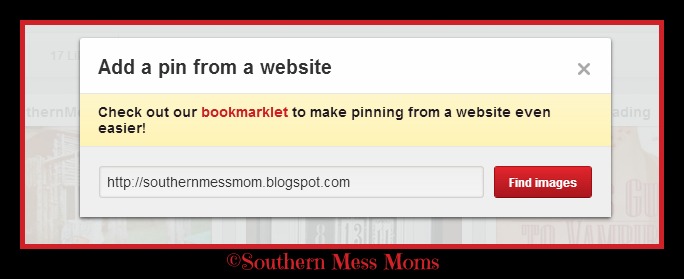
2. Upload from a website. This option is going to ask you for the URL that you would like to Find Images from.
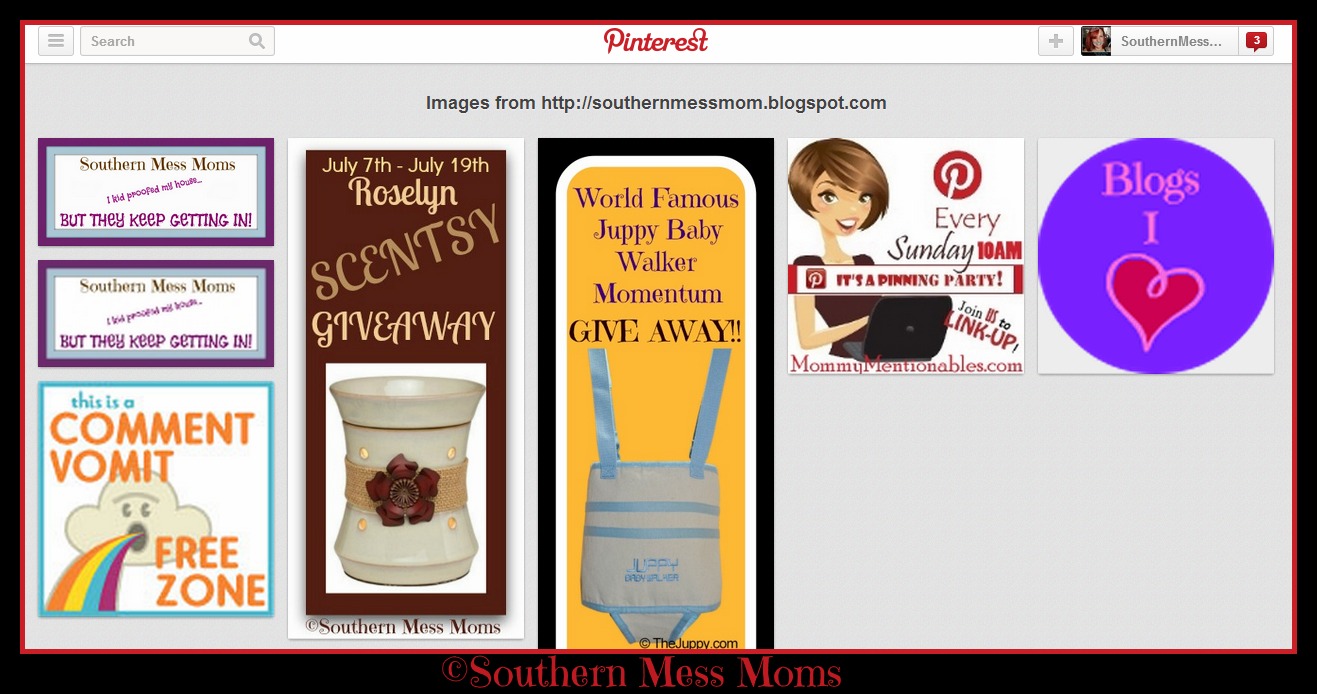
Once you click Find Images, it will load all of the images it can find on the site. You then just have to click on the one you want to Pin.
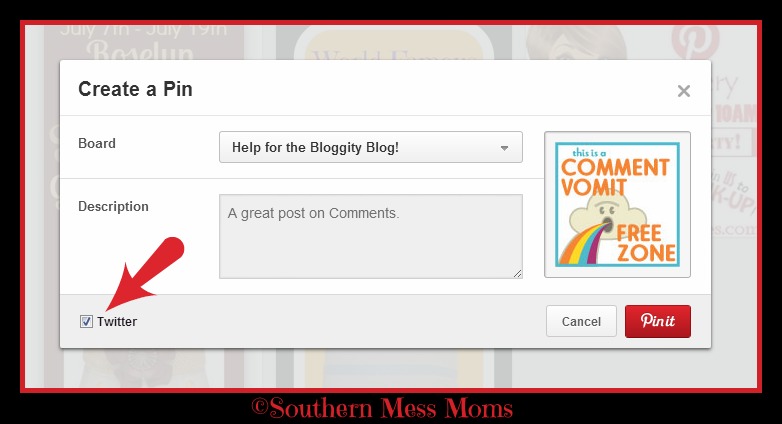
Choose your board, give it a catchy description and DON’T forget to share it on your social media! (Especially if this is a pin from your blog!)
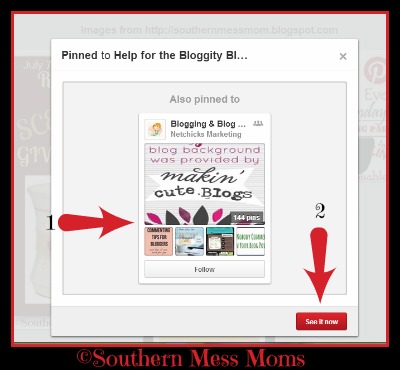
Once you click Pin It, you will be given the option to (1)follow a similar board or (2)see it now. You can also click the X and go back to the website to pin another image. If you are done you can go back to your boards by using the back arrow or clicking Your Boards under your name in the top right corner.
3. Re-Pin.
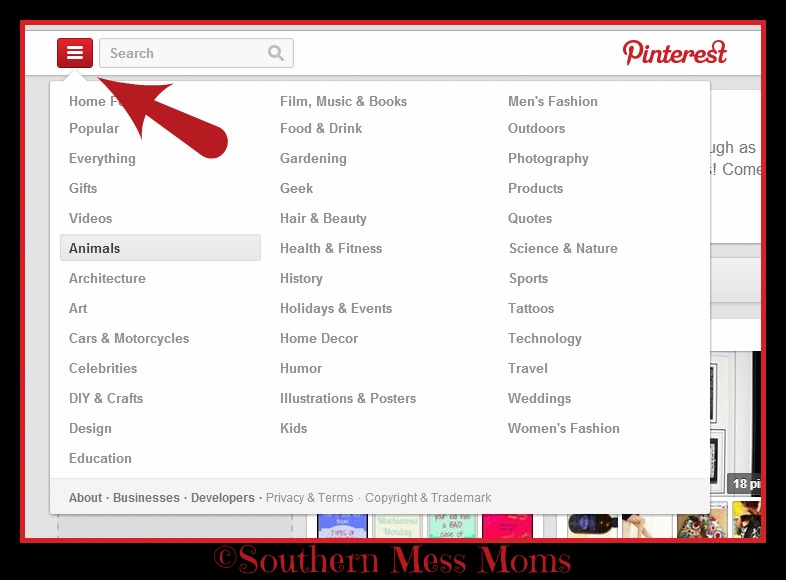
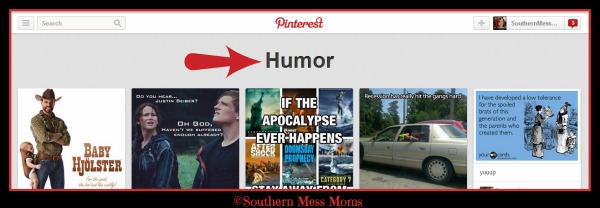
When re-pinning you have two ways of finding pins. You can search in groups of photos.
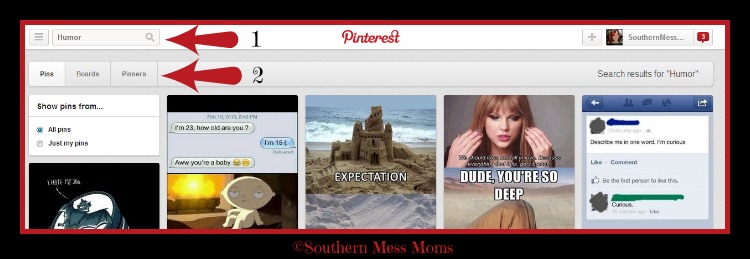
Or you can search by a keyword of your choice. (1) What you search for (2) You can choose to search for Pins, Boards , or Pinners.
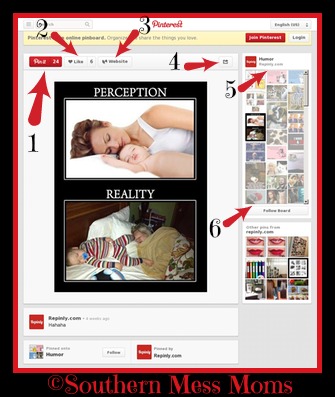
When you re-pin something you get a lot of options. These options are there to help you build your followers and those you follow. Sorry this one has A LOT of arrows lol
1: Pin it- This is what you click to re-pin this image to one of your boards.
2: Like- This is similar to a Facebook like. If you find something interesting and want people to know that, but you don’t want to re-pin it to one of your boards, you can simply like it. You can see how many people like this Pin here as well. (You can also like things that you re-pin.)
3: Website- This button will take you to where the Pin originated, if it came from a website.
4: Social Media- Gives you the option to share on Facebook, Twitter, or Embed it in a website.
5: Board/Pinner- This spot lets you see the title of the board it came from, who pinned it and underneath is a list of other Pins from that board. You can click on the Pinner’s name and it will take you to their page so that you can follow more of their stuff. (At the bottom of this section you can choose to follow this board.)
6: Other Pins- Shows a few other Pins from this Pinner.
Well, that’s about all I can think of to cover in a beginners guide.
Be sure to leave me a slice of comment cake and let me know what you think of the guide and if there is something else you would like to see me do a guide for next!
Blog a day for 30 days: DAY 13
Ultimate Blog Challenge July: DAY 9