Like most of you guys, I didn’t want to keep using one of the “stock” templates. I hated when I was flipping through blogs and came across one that looked exactly like mine!
What is there to keep people from just simply clicking on past my site when they see it?
If you are anything like me, and I’m betting you are, you either can’t afford to or don’t want to purchase a pre-made setup. Some of these things get pretty expensive!!
 This question lead me to spend a ton of time over the past few days doing research and finding ways to update my blog.
I figured that I would be nice and share with you what I learned!
First and foremost I do not claim to be nor am I an expert on this subject! I just did research and played around with the platform until things worked how I wanted them to!
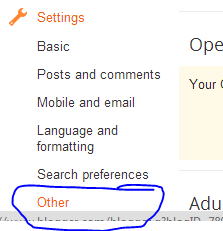
IMPORTANT STEP:
Create a test site! Blogger is FREE hehe I love that word…I could just roll around in it all day! so simply go to the Blogger screen and create a new site that you are going to test out all of this fun stuff on. This way if something messes up, you don’t lose your true blog!


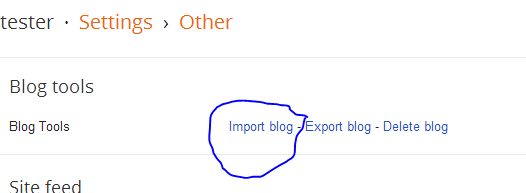
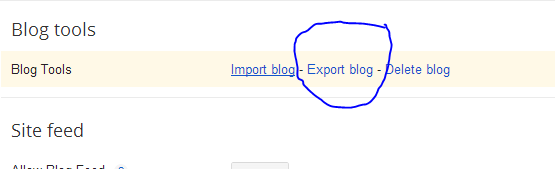 |
| This is found at the top of the page. Save the exported file. This is a good idea to do a few times a month anyways so that if something happens and you lose your blog you still have your posts! |
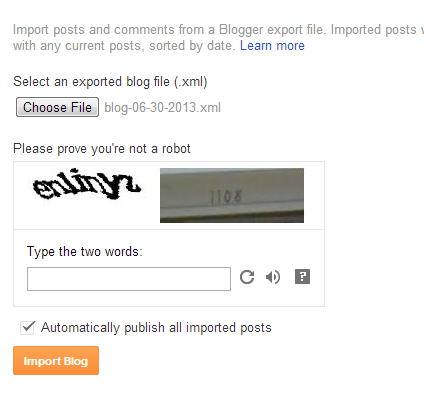 |
| Your going to have to deal with the EVIL captcha here…sorry guys! |
Once it finishes uploading, which can take a minute or two depending on the size of your blog, you are ready for the fun stuff!!
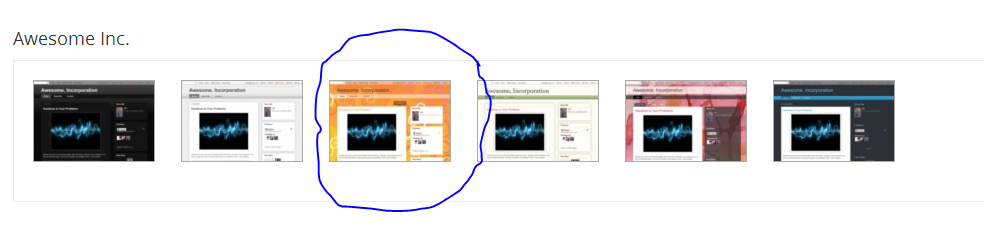 |
| This is the one I used on my site…the others may work as well…this one just suited my purposes best. Feel free to play around with the options. Some templates make it so that you don’t have a page menu, can’t see the background, etc. So be sure to test it out at this stage BEFORE you go on to the next step. |
 |
| Take note that you can see the changes you are making in the space indicated by the arrow. No need to keep saving and flipping between pages! Thanks Blogger! |
There are a ton of options to choose from when it comes to backgrounds. Don’t worry about the color it is just yet…just find the design that you like. You can change the color later!
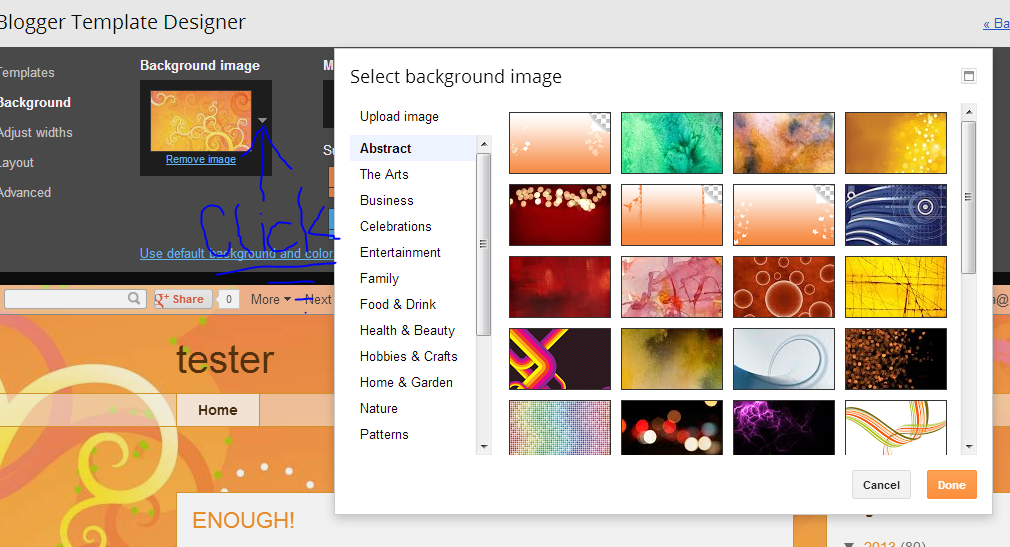 |
| Click on the little triangle to find a ton of background options. when you find one you like, click on it and click done! |
 |
| Notice how the bottom changes as you click on backgrounds. This means you can see what they would look like before you decide! |
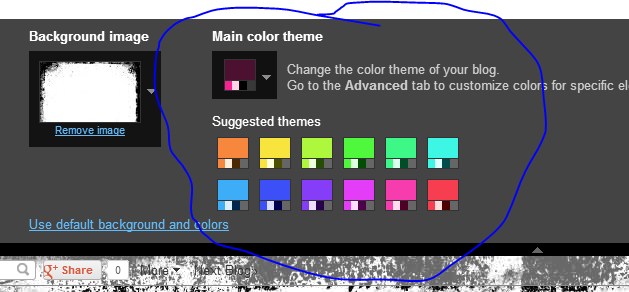 |
| Here is where you can play around with the colors. Some backgrounds allow for more change than others. Any of the Patterns or Transparents will allow you to completely change the color patterns. Some of the others, such as what I chose only let you play around with outlines and text. |
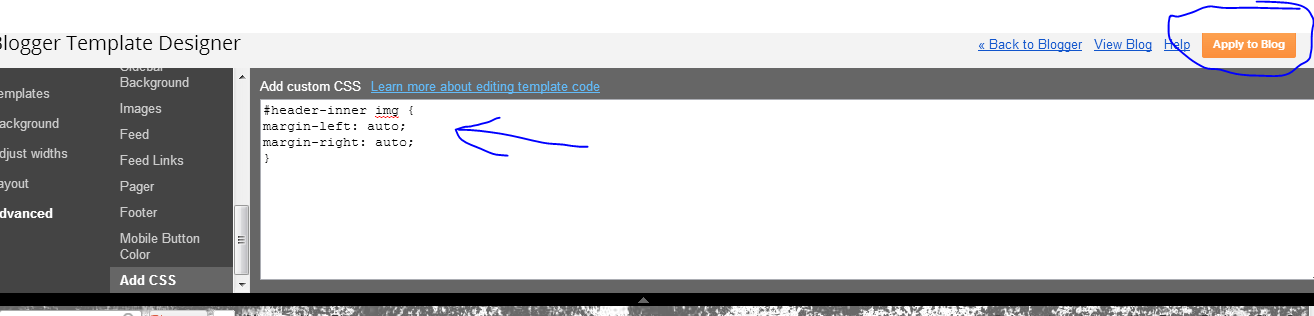
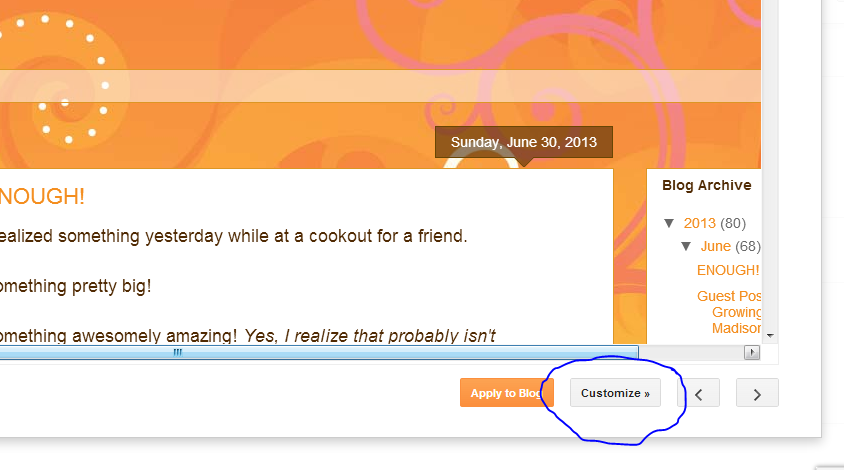
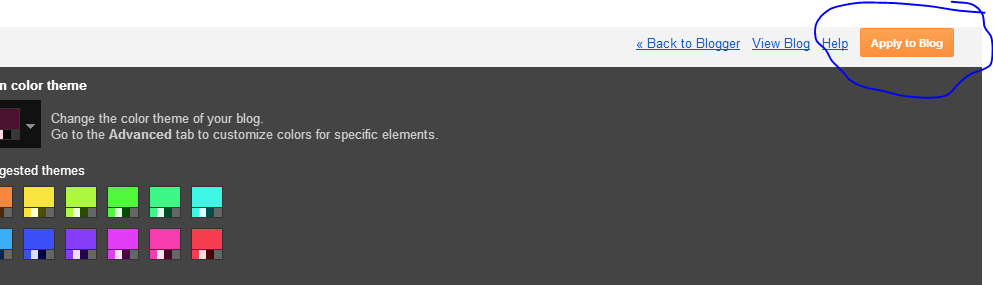
Once you are happy with your background and colors, Click Apply to Blog.
 |
| Same as with the back ground you simply click which one you are interested in and you can see how it changes things below. One you have made a decision go ahead and click Apply to Blog. |
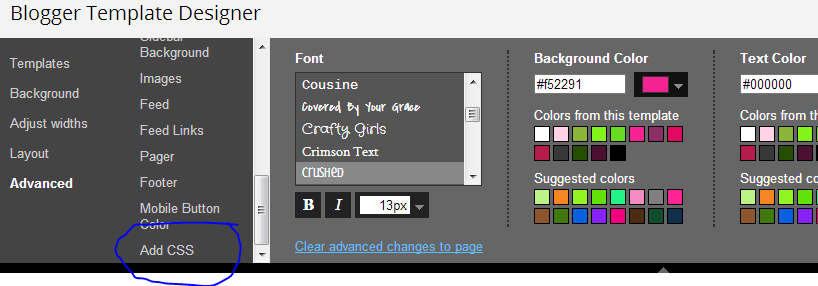
To do this click on Advanced.
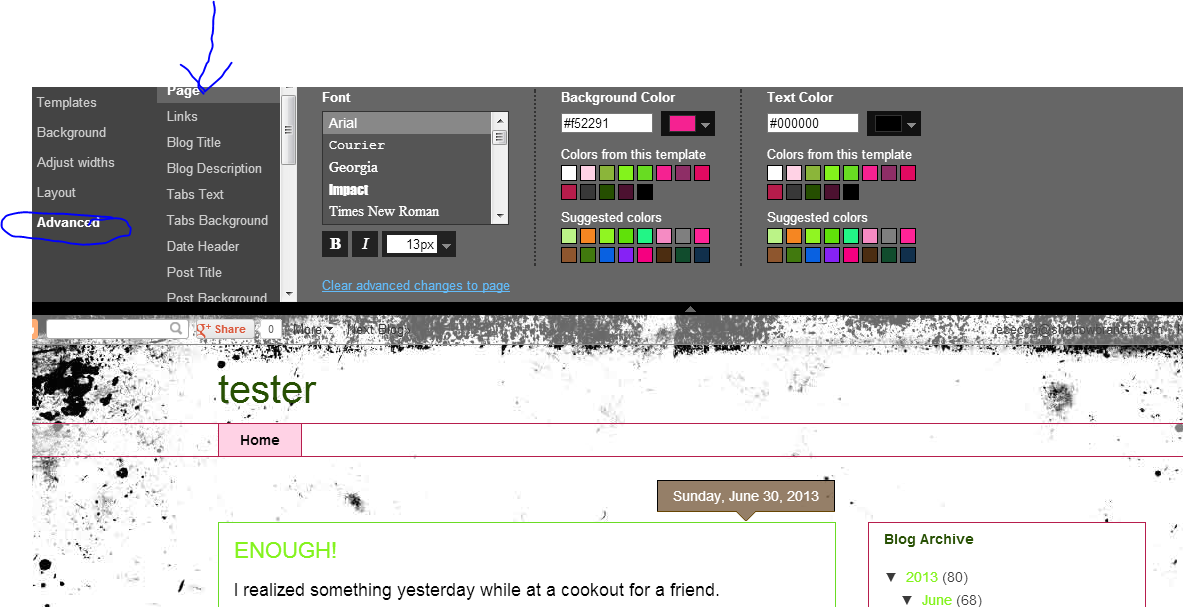 |
| The section that I marked with an arrow may look a little different according to the background/template that you chose. They all have similar options. I’m not going to go into detail of each one. However, if you click on a option it will highlight what would be changed in the preview section. |
Go ahead and play around with a few fonts and colors on each option in the list. Just be sure to remember that just because something is cute doesn’t mean you should use it! Don’t pick things that are really hard to read! This applies to colors as well!
 |
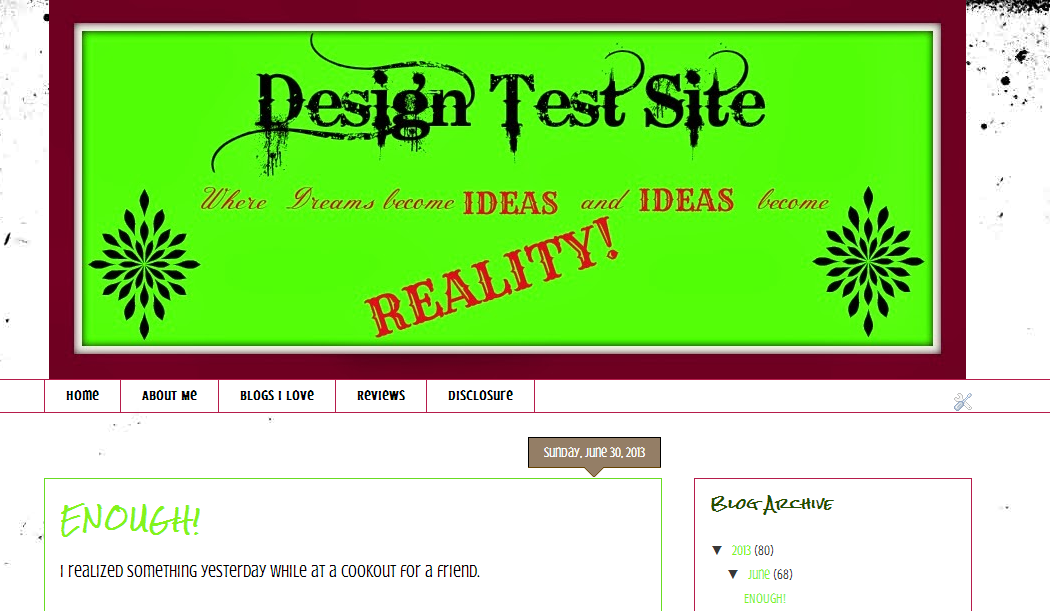
| Here is mine so far! |
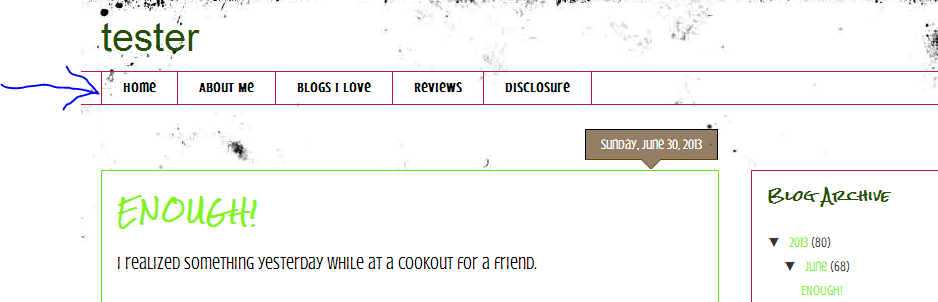
NEXT! Pages for your menu bar!
This is important in order to make your blog easy to navigate. I wish I could put in a nice little snippet about drop down menus here…however…in my opinion at this moment BLOGGER + DROP DOWN MENUS = EVIL!!
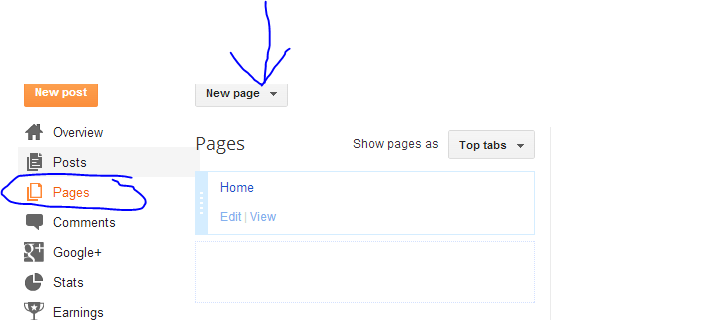 |
| Click on New Pages (arrow) you will have two options. |
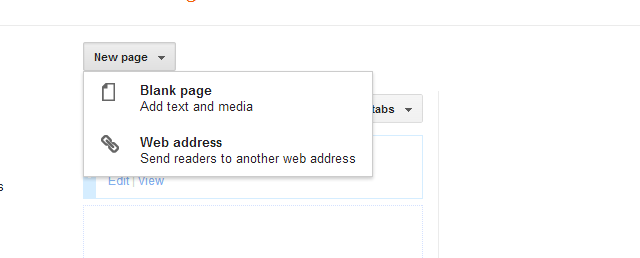 |
| Blank Page if you want to create a whole new page. Such as About or Home. ( I recommend having a home page that doesn’t simply link to your blog.) Web Address if you want to link to something else such as a category of post or your FB, Pinterest Pages. |
 |
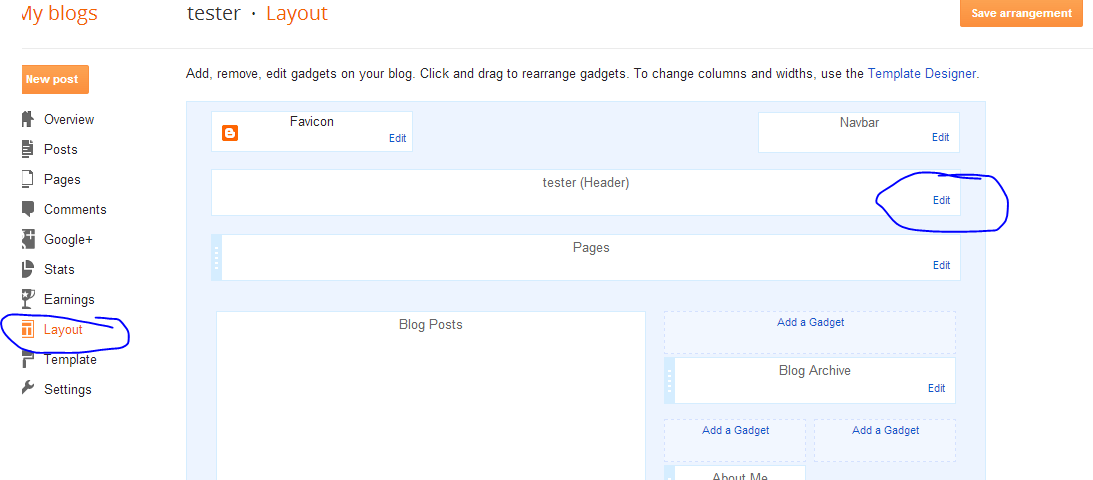
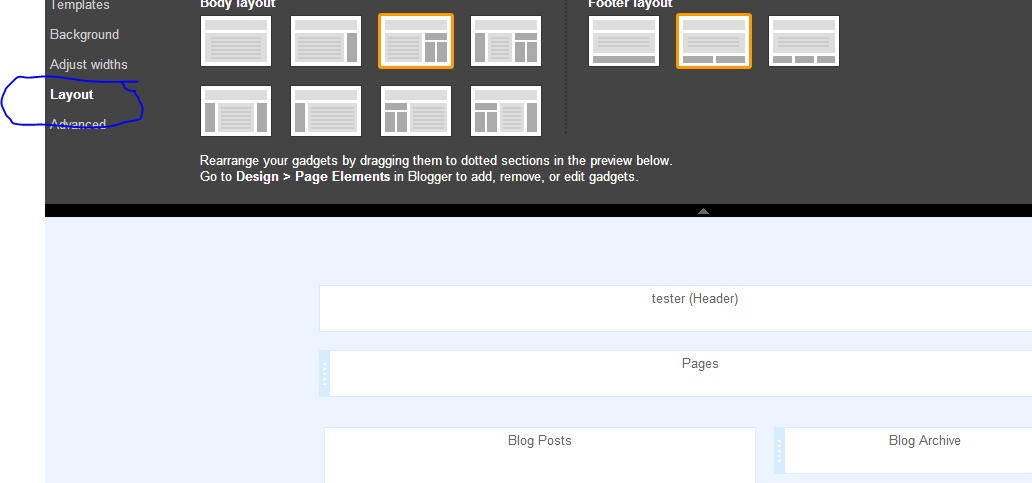
| You can have your menu bar show at the top or on the side of your page. If it doesn’t show up automatically on your template (not all of them show it), go to Layout, Add Gadget, Pages and add that gadget! |
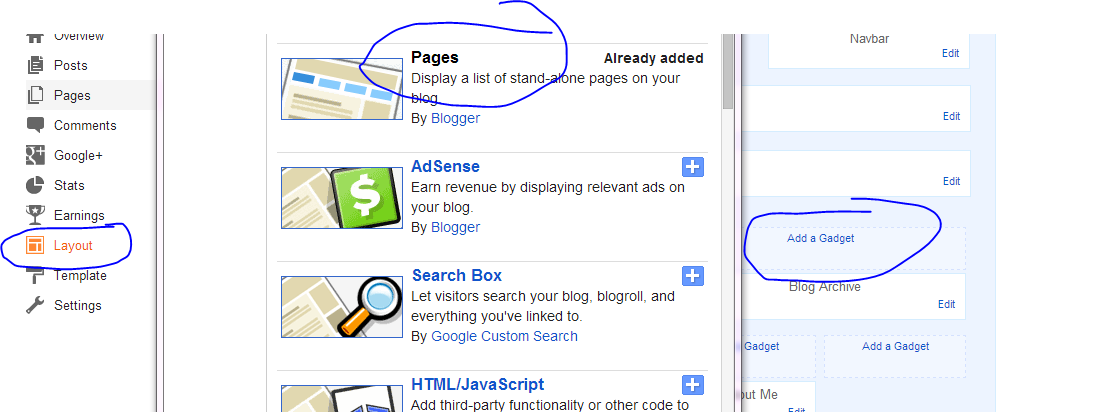 |
| You can use any ADD Gadget button…this was just the easiest for me to show on screen. |
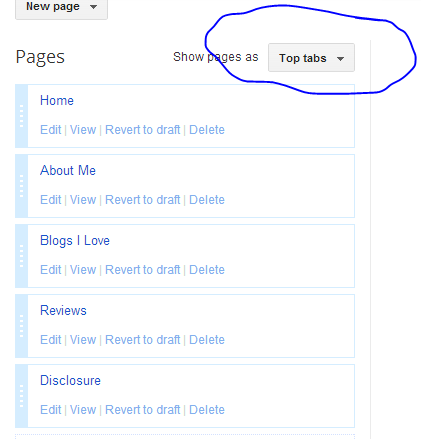
Once you have your Pages completed be sure to click on Save Arrangement.

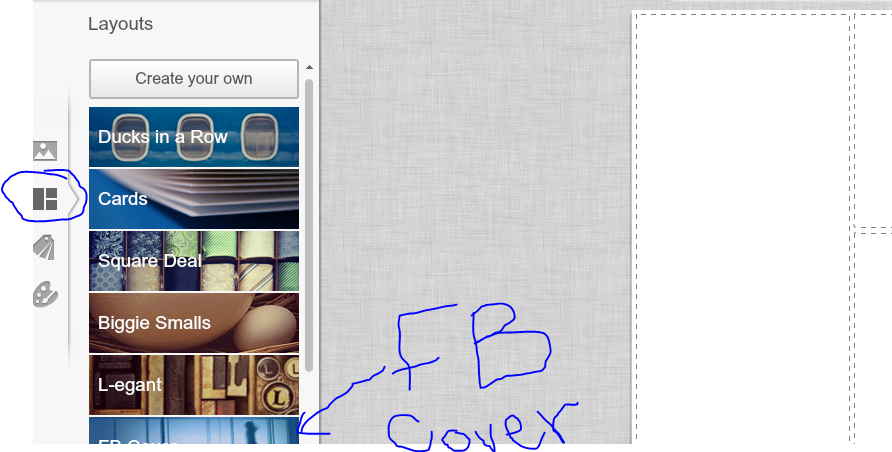 |
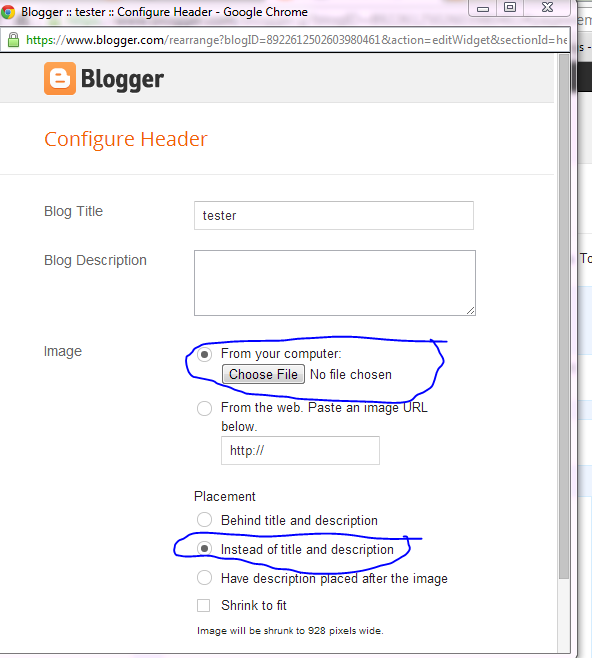
| The three little boxes are the layout tab. FB cover is just off the page. |
 |
| Click on the picture tab, upload your picture (I wouldn’t use a stock one…) |
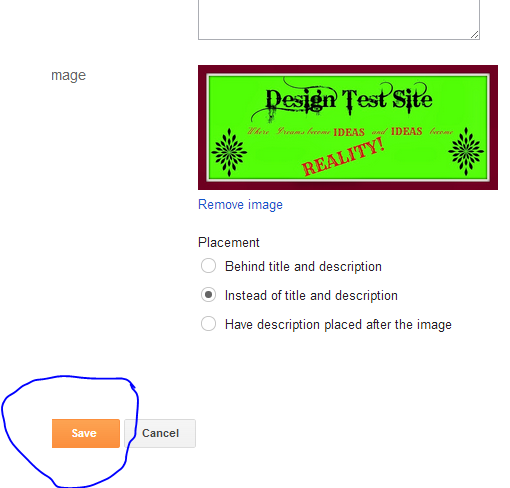
For this particular header I am not using a picture….however I do want to put a background color in. (You may also choose to leave it white…if so then you are done and just need to save your white base.)
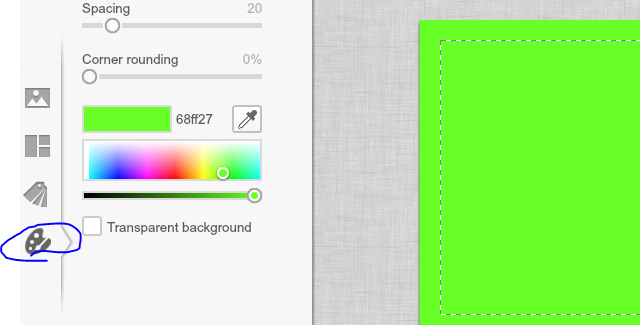 |
| To add a background color click here and choose your color. |
Now we are ready to save! Click save at the top of your screen and this appears:
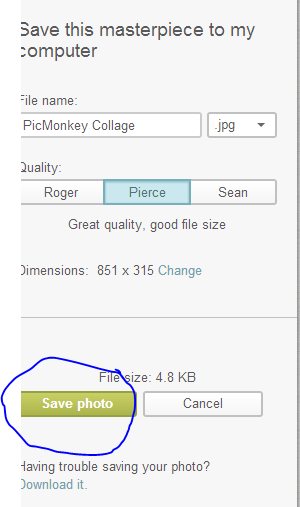 |
| For the header I don’t mess with these options. I generally save to my desktop while editing! It’s easier to find. |
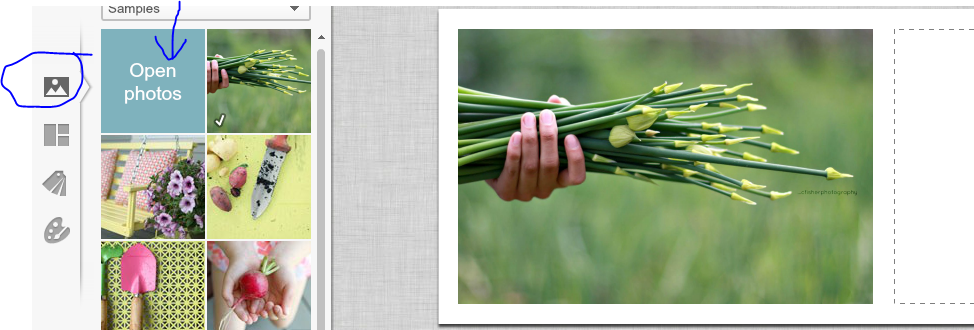
Now you need to go back to the Picmonkey home page and click Edit Picture.
 |
| Find the picture you just saved and click Open. |
First thing you need is some text.
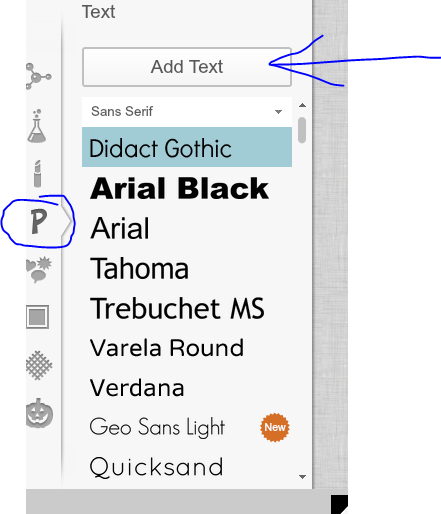 |
| Click on the P for text options, click Add Text, Type your text, scroll through and find what you like. If you click on the text box and then a text option, the text in the text box will change. (If it has a crown beside it it isn’t free!) |
Once you have chosen your font another option menu comes up:
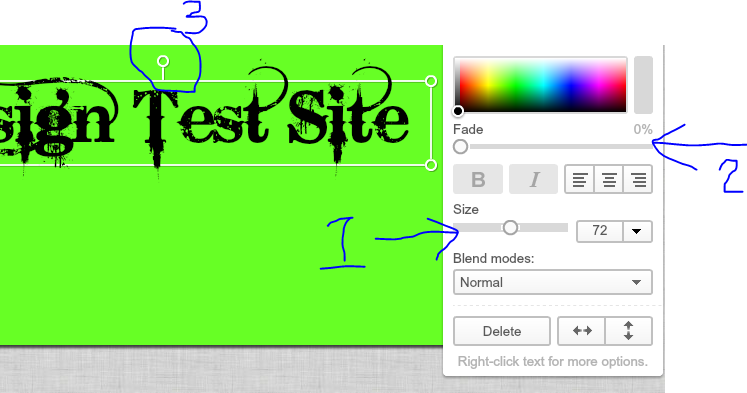 |
| 1: size of your font 2: color and fade 3: Tilt your text |
Once you get your text how you want it you can add a frame or leave it as it. There are even options to add little graphics if you would like. Check out all of the menus! I’m going to show you how to add one graphic and a frame.
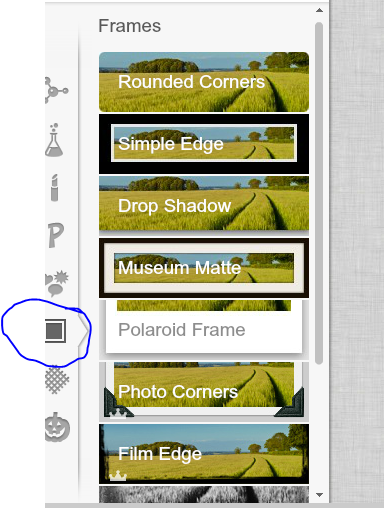 |
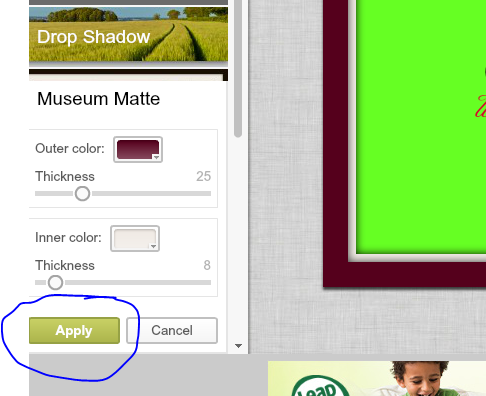
| The little square is the Frames tab. I usually stick with Simple Edge or Museum Matte…but feel free to try what ever you would like 🙂 |
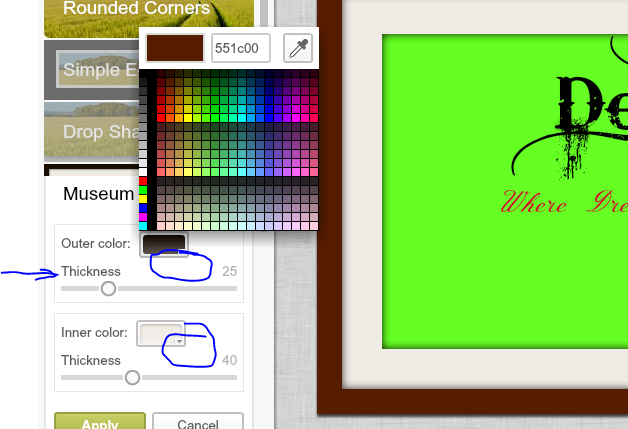
You can change the color of the inner and outer parts of the frame as well as how thick they are.
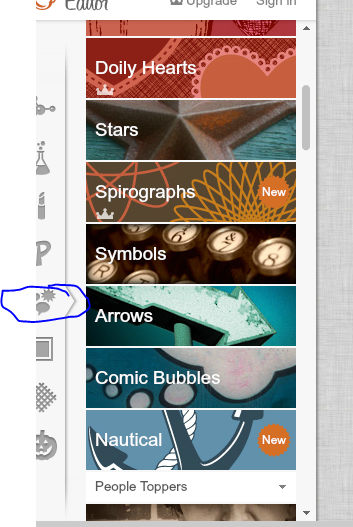 |
| The little thought bubbles is the graphics tab. |
There is a large variety of things to choose from. However, a lot of them are things you have to pay for. There are a few that you can choose to add.
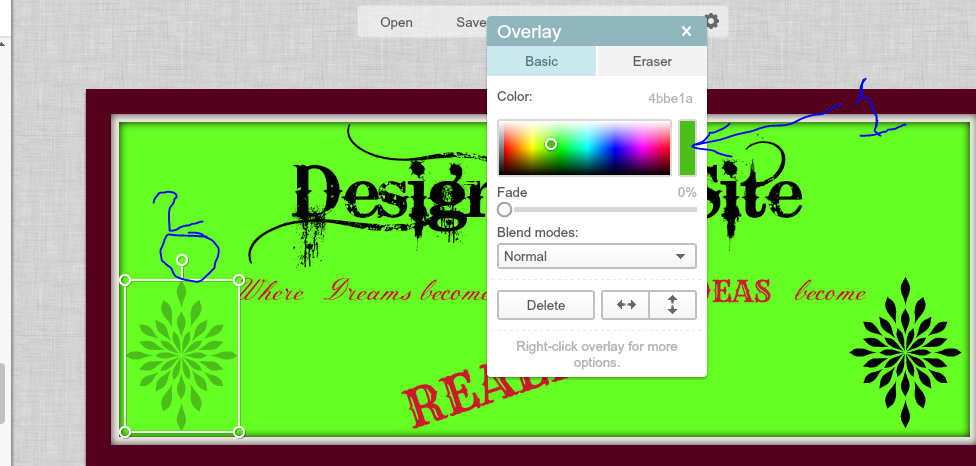 |
| 1: (this works on text as well) If you click here you can click anywhere in your work area (including a picture you added) and match the colors.) 2: You can tilt graphics just like you can text. 3: If you right click on an object or text you can find the option to Duplicate Object. |
Now we are done and ready to save. Be sure to follow the steps above to save if you don’t remember how.