This week on
I am going to show you a new way to use Inlinkz!!
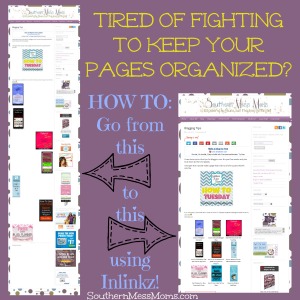
I don’t know about you guys, but I am constantly fighting with a few of my pages! I have the hardest time getting my images to line up and look good on pages like: Blogging Tips and Recipes.
I’ll get it to look right and then create a new page, add it to my list and BAM! it’s all messed up again! UGH!
Did you know that Inlinkz can help you fix this problem??? Yeah I didn’t either…
I’m going to start this post off with the assumption that you have a basic knowledge of Inlinkz. If you don’t, check out Part 1 in the Inlinkz Guide!
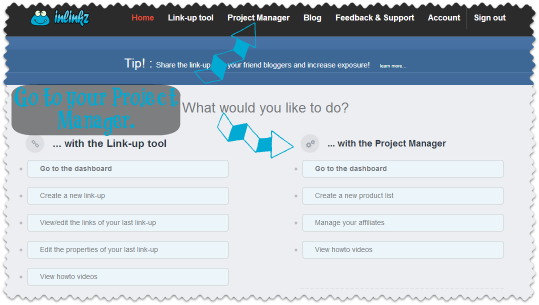
Once you are logged in go to your Project Manager dashboard.
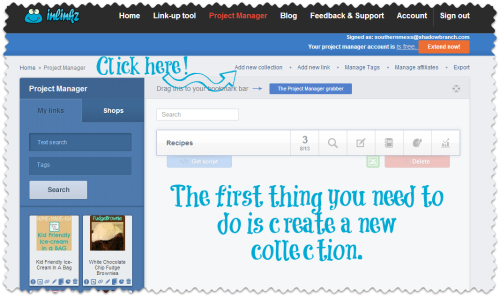
Click on Add New Collection.
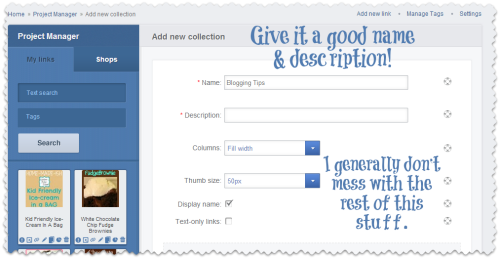
Be sure to give it a name that you will recognize and remember what goes in there!
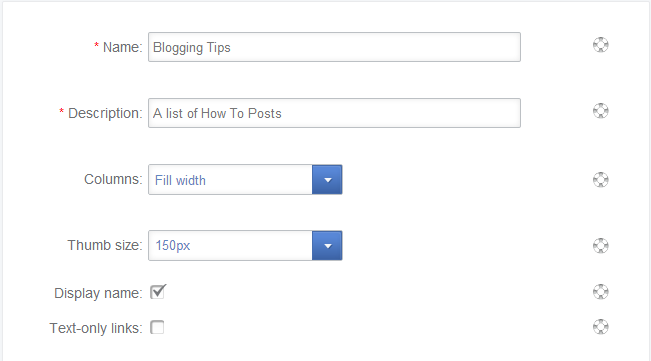
See what I did there? How I named it what it is! Yeah…do that =)
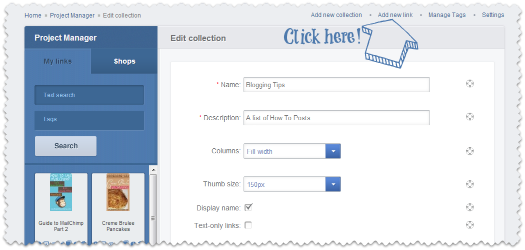
If you scroll down you will see where your links will go…but for now just click Add New Link
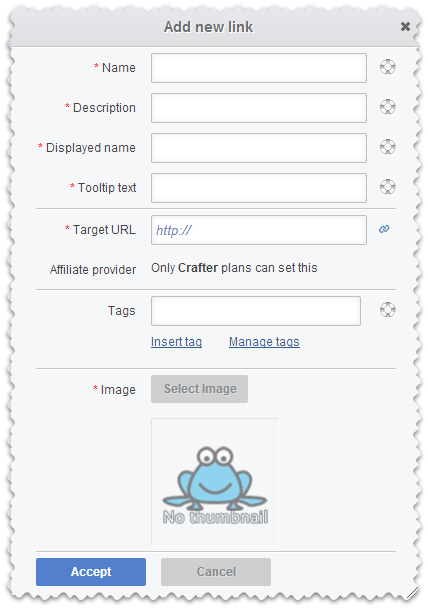
This window will pop open! Here is where you name your new link and all that good stuff!
I always just put the title of the post in for each of the top blanks: Name, Displayed Name, Description, and Tool Tip Text.
The Target URL is the post you want it to go to. (Just copy and paste the URL)
I don’t do tags…I’m not sure how useful they are in this type of thing….if someone knows more please let me know!
Click on select image:
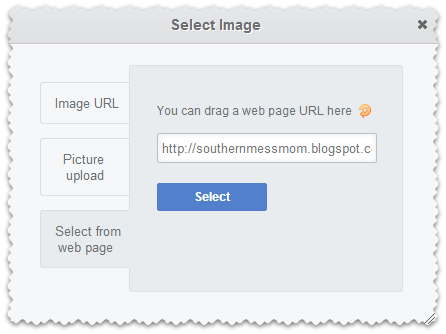
I ALWAYS get the image from my page! Your post should have an image somewhere on it … in my opinion. If it doesn’t you can always upload it the other ways. If you don’t remember how to do that check out Part 1.
Be sure to copy and paste the URL for the specific post you want into the block. Click Select.
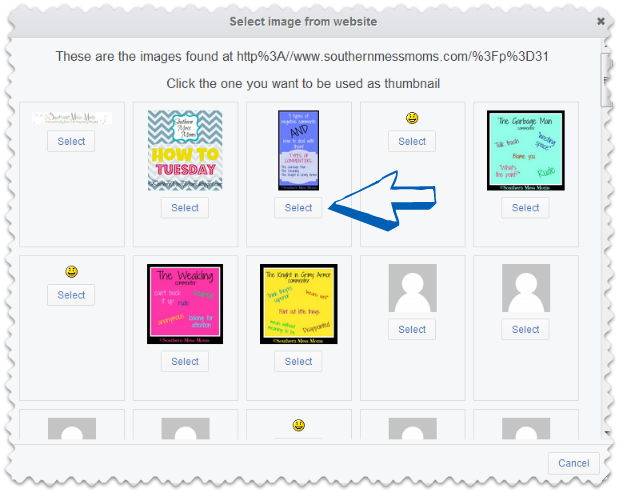
Find the image you want to use for this post (I always use my Pinterest pictures) and click select.
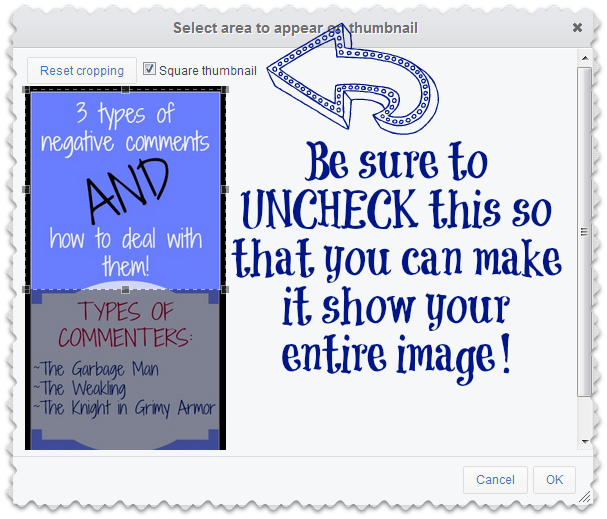
Uncheck the Square Thumbnail option and make it fit your image =) This way your page still looks exactly as you had planned. Once you are done click OK.
 You will be taken back out to the Project Dashboard.
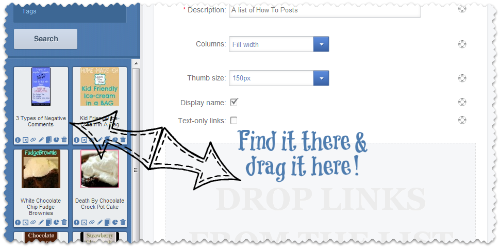
Find the link you created on the left then drag and drop it onto the space that says Drop Links.
If you need to edit a link you can click on the little Pencil icon on it. To delete a link just click on the Trash Can icon.
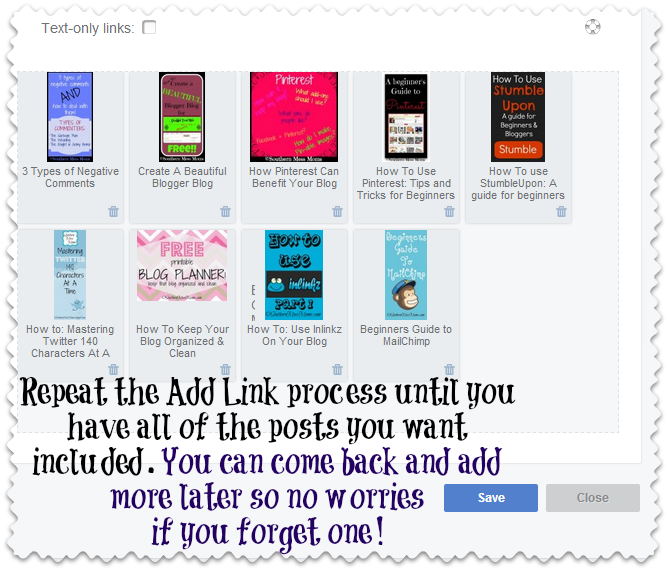 Just keep repeating this process until you have added everything you think you want to add. You can EASILY add links once you save so no worries if you forget one or two! My list grows each week as I do new How To posts.
Click Save!
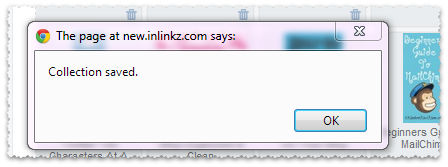 This nifty little window will pop up letting you know that it was successful!
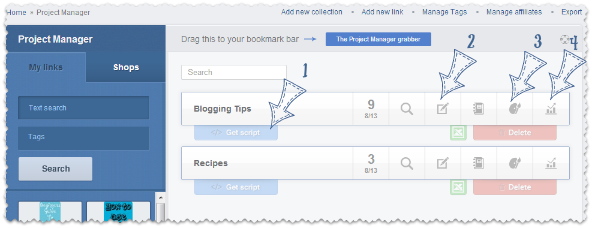 It’s then going to jump you back out to the main dashboard for project manager.
1: Get Script- this is where you will click in order to add the link up to your page. The same way you would for a normal link up. If you don’t remember how check out Part 1!
2: Edit- click here to add new links or make changes to the links you have already added to your collection.
3: Appearance- click here to play around with how it looks. I haven’t really done much of this yet.
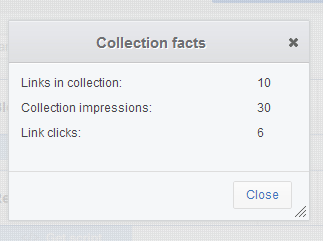
4: Impressions/Clicks- AWESOME! Click here and you can see how many people have viewed the collection and how many people clicked!!
You have now taken your page from something that looked like this:
To this:
Yay!! So…tell me what will you use this trick for? Do you have a page in mind?