
Welcome back to How To Use MailChimp for Beginners!
Be sure to check out Part 1 of this series if you missed it!
In today’s post we will cover importing a list of email recipients from Inlinkz as well as setting up a RSS feed based newsletter and send out surveys.
Let’s say you did an awesome link up/blog hop and want to do it again. Wouldn’t it be AWESOME if you could use the emails they gave you for link up to send them a reminder about the link up?
YOU CAN! Since I began doing this, I put a little disclaimer on my link ups letting people know that by giving their email I will send them a reminder about the hop. Here is my disclaimer:
By joining and providing your email you are subscribing to updates about this link up. You may opt out at any time and still be a part of the link up.
I spoke with someone at MailChimp about this to be sure that we as bloggers are doing what we are supposed to do. We don’t want to be considered spammers! He was very helpful and said that AS LONG AS you have a disclaimer telling people that they are opting into an email, you can use the list from Inlinkz!
Okay, now that all that boring legal stuff has been covered, let’s get to the fun stuff! How to import your list from Inlinkz!
Log in to Inlinkz and find the link up you want to get emails from.
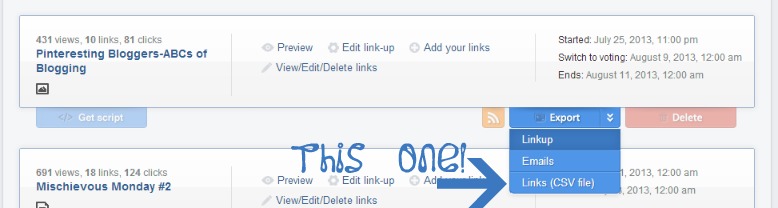
I have found that it is much easier to upload the CSV file to MailChimp than to just upload the Emails.
So, click on Links and download the CSV file. Pretty easy so far right?
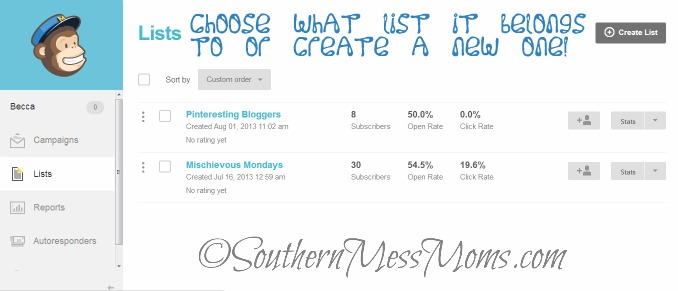
Now that you have your file downloaded, you need to go to the Lists Menu and upload it.
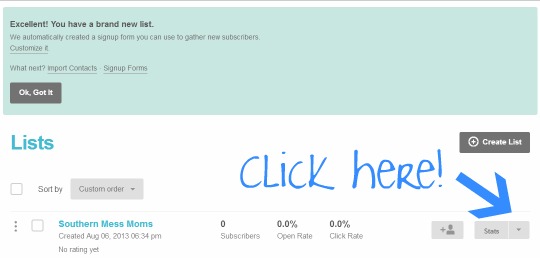
This is the Lists section of your menu. Here you can see a list of your email campaigns. If you click on one of them it will open and allow you to view the details. At a glance on the main Lists menu you can see how many subscribers you have, it’s open rate, and it’s click rate.
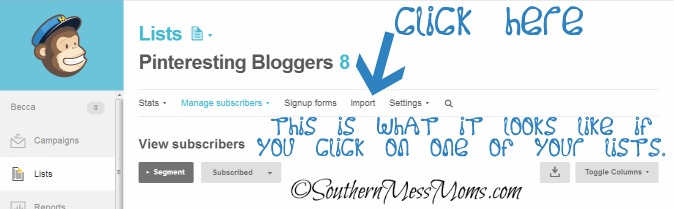
Click Import!

Click on Upload File.

I always make it auto-update my lists. Seems to make things easy.
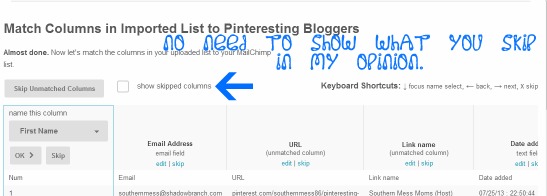
I don’t show the things I skip, unless I accidentally skip something. It just takes up a lot of room.
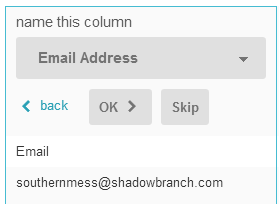
Each column gives you the chance to Name it, Okay it, or Skip it.
Once you have gone through each column and named it or skipped it, scroll down and click done.
Yay! Now it is time to work on that Newsletter!!
This will make it so that your readers can sign up to receive your blog posts by email.
You can do this two ways:
Pop Up Sign Up Form or Embedded Form (best for blogs):
Designing your email works the same either way.

If you don’t remember how to create a list, you can check out MailChimp Part 1 for help!
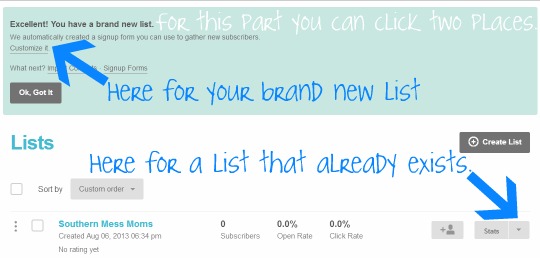
Now that you have your list, you need to get the Sign Up form.
If you click the drop down menu you will see this:
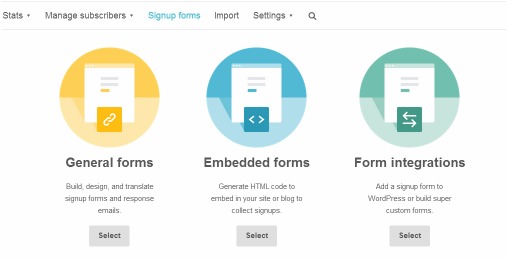
Click General forms
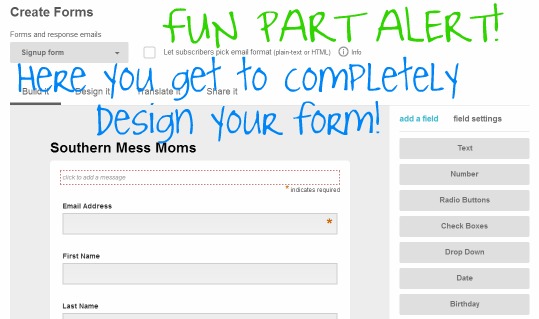
If you can’t tell from the Fun Alert….I LOVE TO DESIGN STUFF! Here you get to add or remove sections (for this newsletter I kept it to basics…just Email) change the colors…anything and everything really! You can even create your own title for sections.
To remove a field:
Click on the field you wish to remove. A + and – will appear. Click the – and type DELETE.
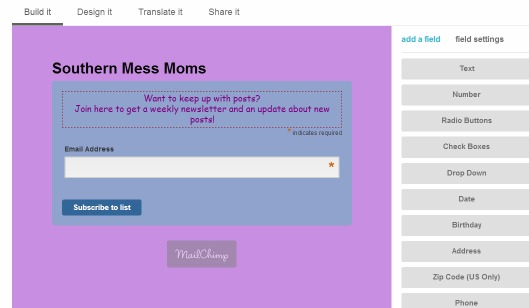
Here is mine 🙂 Be sure to explore the Build it & Design it tabs in order to play around with colors and what things say. It’s super SIMPLE!
Now for the embedded forms:
Don’t remember how to create a new list? Check out Beginners Guide to MailChimp.
Ignore the top part in blue! That will take you to a pop up form option. You want the drop down menu instead.
Click Embedded forms.
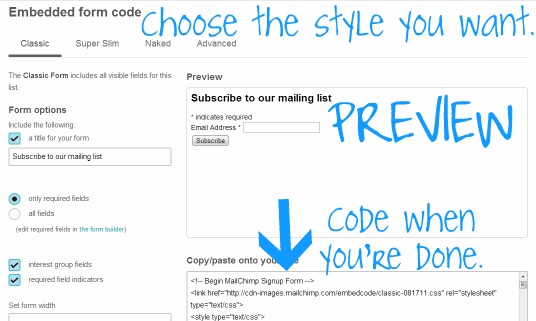
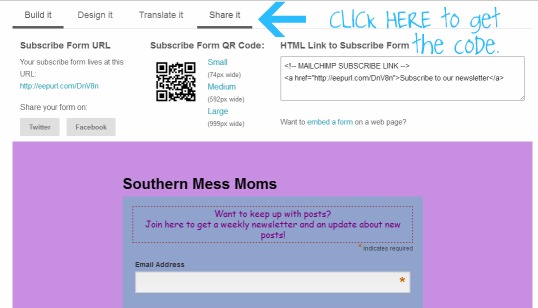
You can play around with what things say and how they look here. Check out each tab at the top to see which style works best for your site. Once you are done highlight ALL OF THE CODE! You will have to scroll to see all of the code.
This part I don’t have pictures for because it depends on what platform you are using. However, all you need to do is go to where ever you add Widgets to your site.
Add a Text/HTML widget where you want your sign up form to be displayed.
Paste the code in and click save.
Now you need to design your email:
This is extremely simple!!! Go back to your Dashboard.
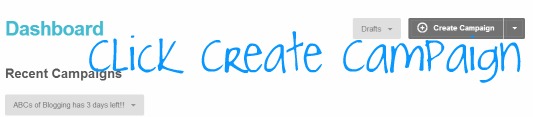
Click on Create Campaign. If you don’t remember how to do this you can check out Part one of this How to.
BE SURE TO CLICK ON THE DROP DOWN ARROW BESIDE CREATE CAMPAIGN AND CHOOSE RSS EMAIL.
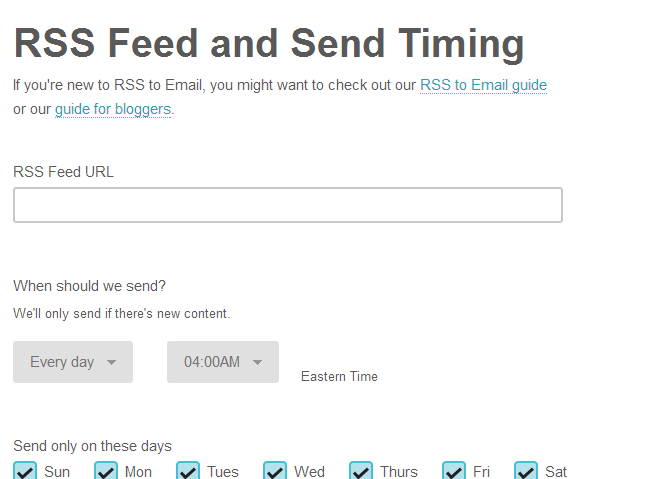
Copy and Paste your RSS feed from your site and choose when you want it to send. (I choose once a week).

Choose Basic Designs.
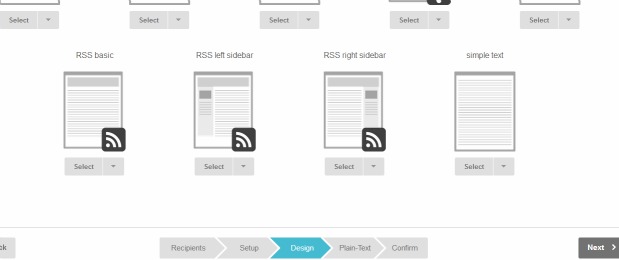
Scroll to the bottom and choose an RSS template that you like.
Once you have chosen your template set it up like you would any other campaign. You can play around with just about everything in these. Be sure to preview it and see what information it is pulling from your feed and where it is placing it. This way you can make sure it looks the way you want before it goes out.
Now we are ready to learn about Surveys!
I am going to walk you through sending a survey through MailChimp IF you are using SurveyMonkey. I will do a how to on SurveyMonkey soon!
First you need to connect MailChimp to SurveyMonkey.
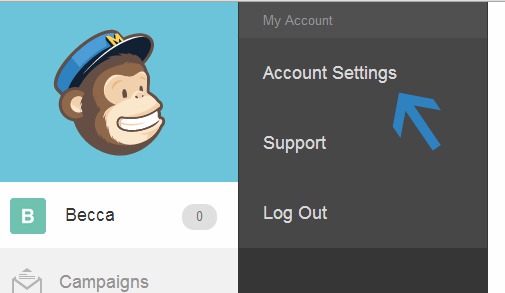
Go to your Account Settings.
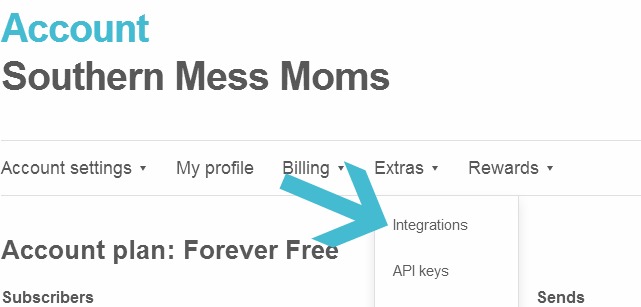
Click on Extras and then Integrations.
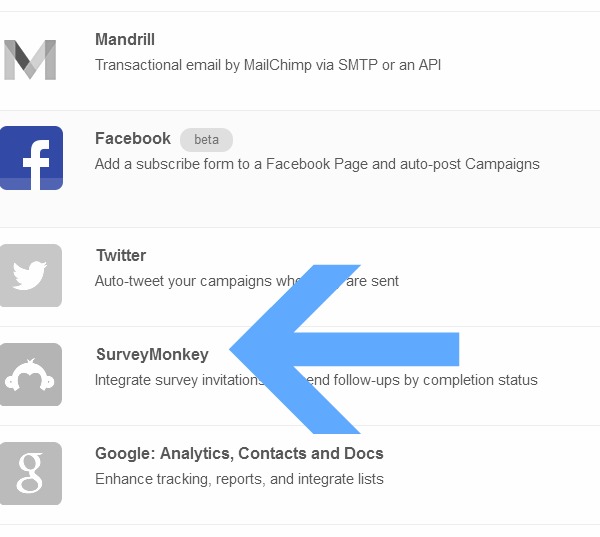
Scroll down until you find SurveyMonkey. Click on it.
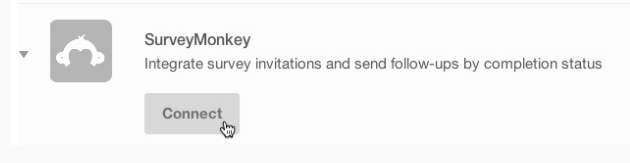
Click Connect.
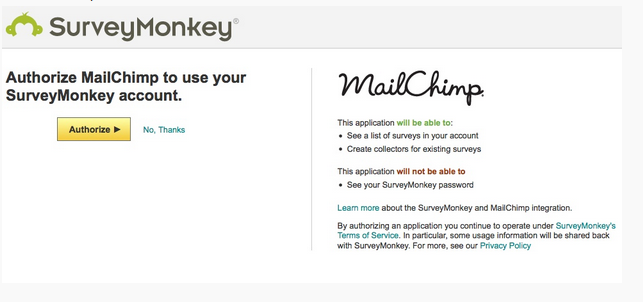
Authorize it!
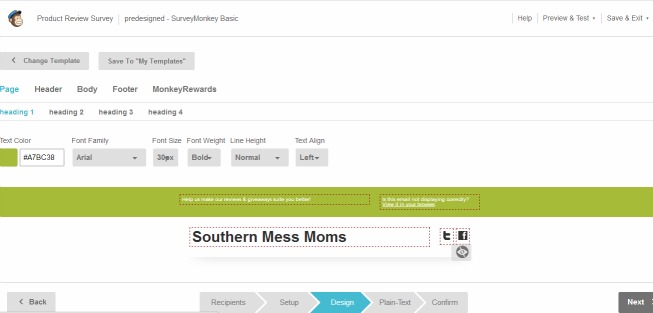
Create your campaign and choose Predesigned templates.
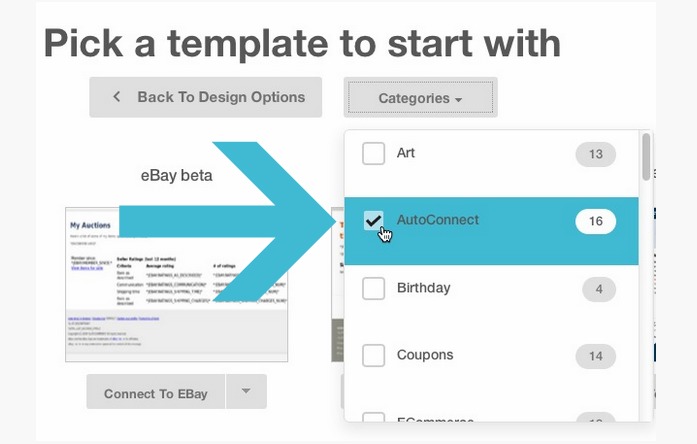
Click on Categories and find the AutoConnect option. This will bring up a list of templates.

Near the bottom of the list you will find 3 options for SurveyMonkey. Pick the one you like.
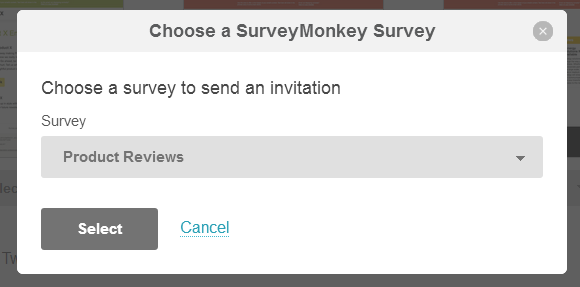
Choose the survey you want to use and click Select.
Design and send it as normal!